Concrete Polishing Products Instruction Manual
1. Product Overview
Our concrete polishing products are a comprehensive set of tools and materials designed to transform ordinary concrete floors into smooth, glossy surfaces. Whether for industrial, commercial, or residential applications, these products offer an effective solution for enhancing the appearance and durability of concrete floors. The product line includes diamond grinding discs, polishing pads, concrete densifiers, and sealers, all working in tandem to achieve a high – quality polished finish.
2. Product Components and Their Functions
2.1 Diamond Grinding Discs
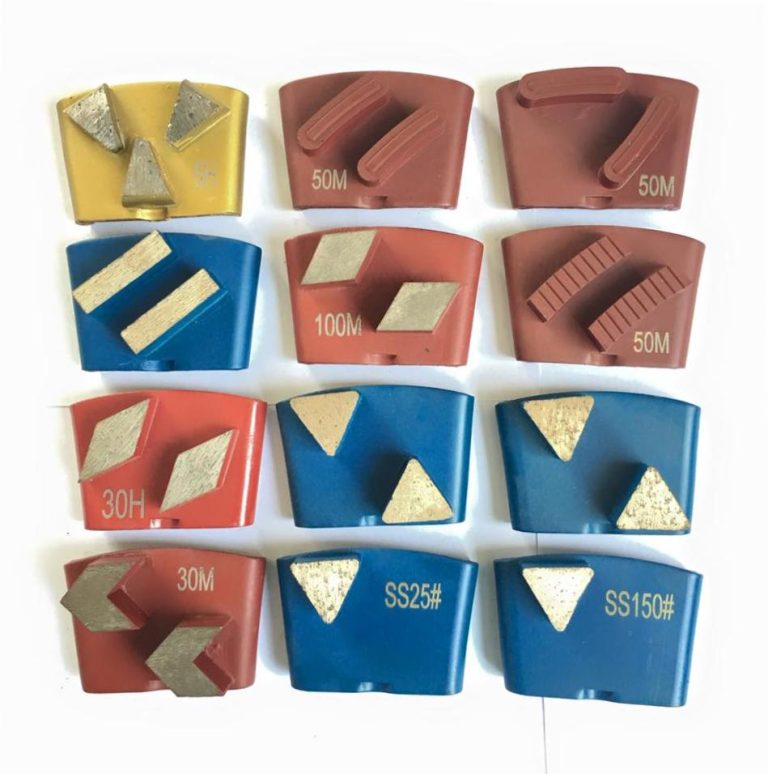
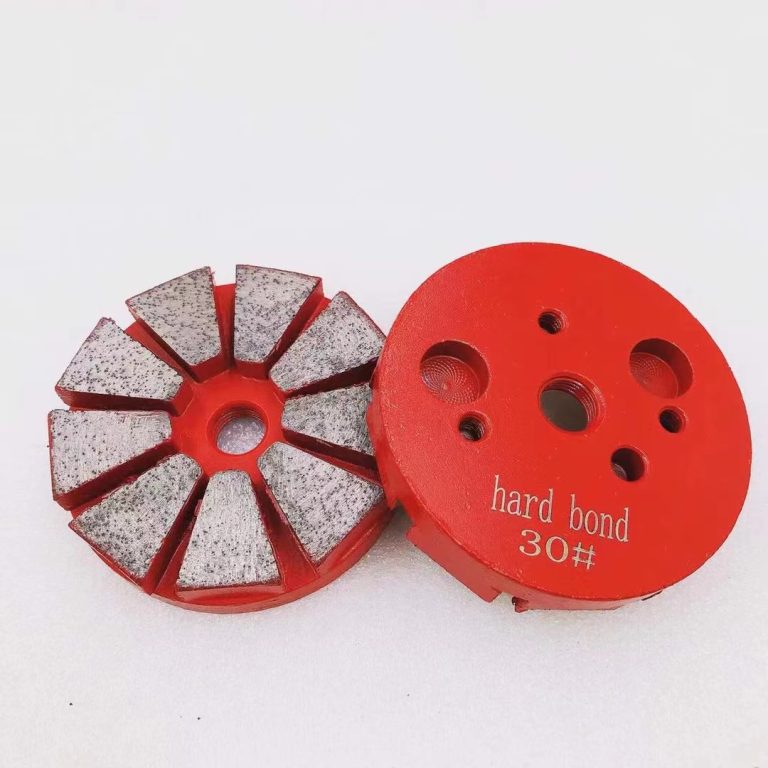
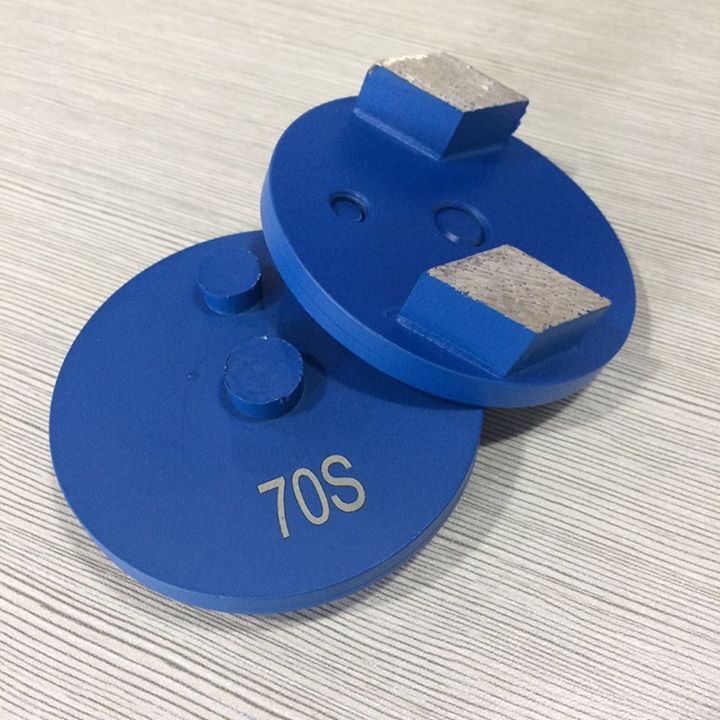
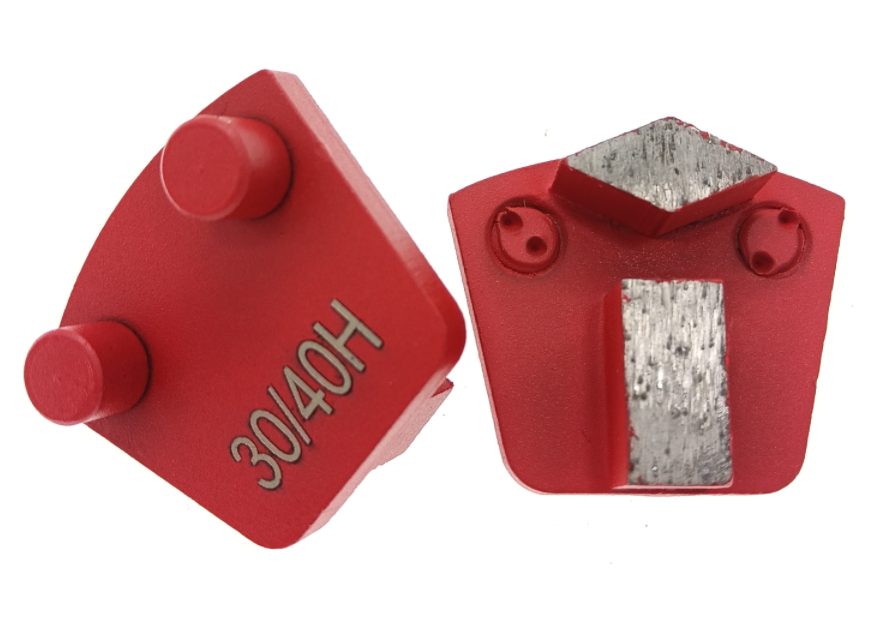
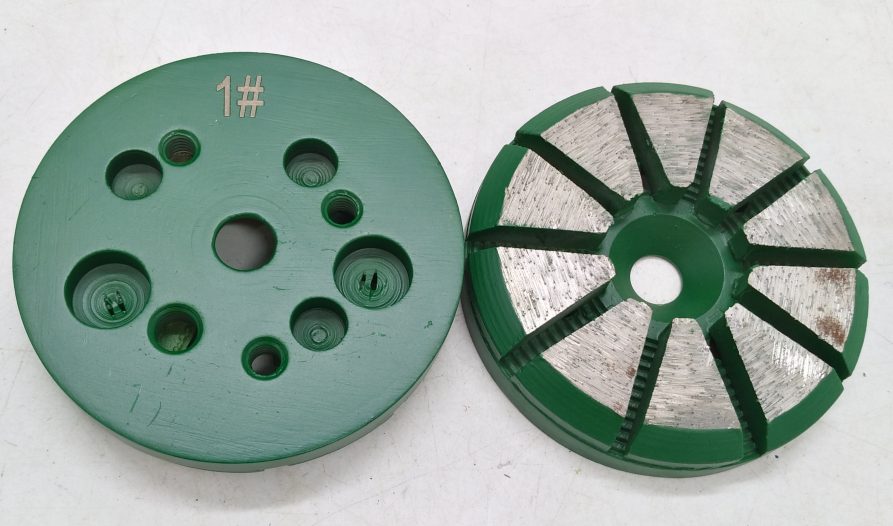
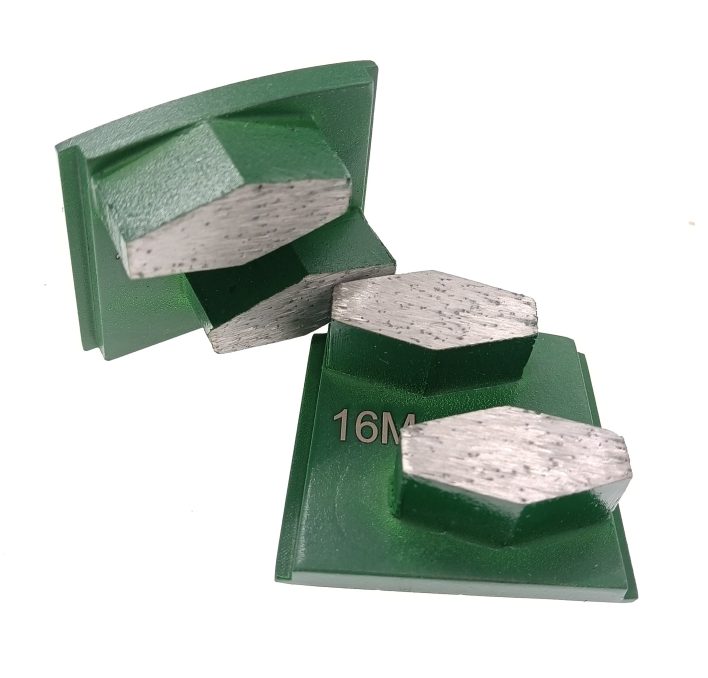
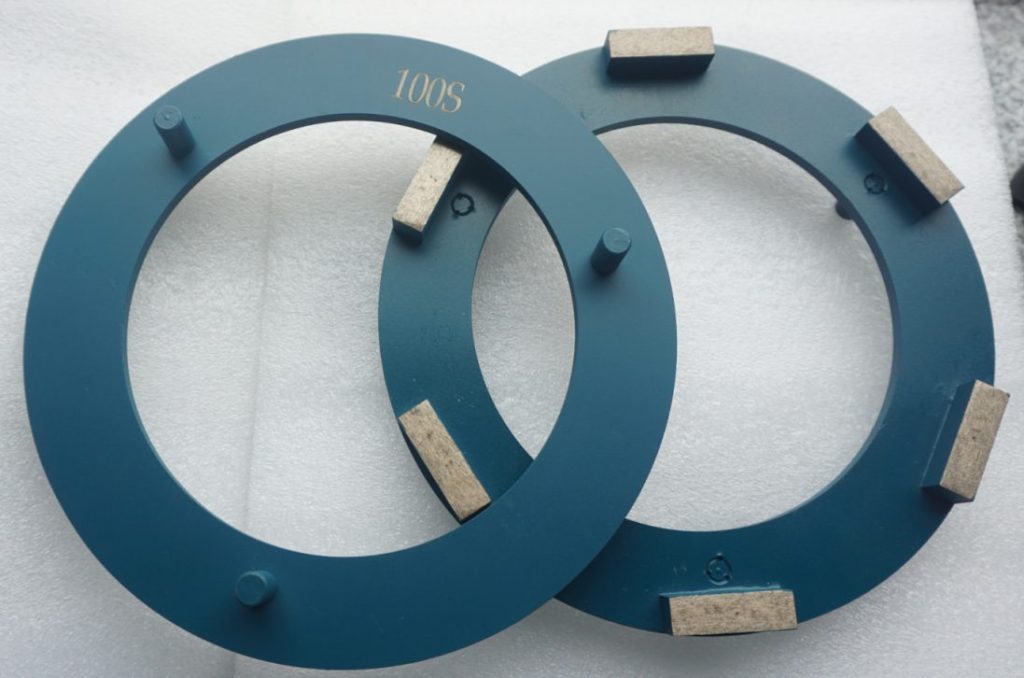
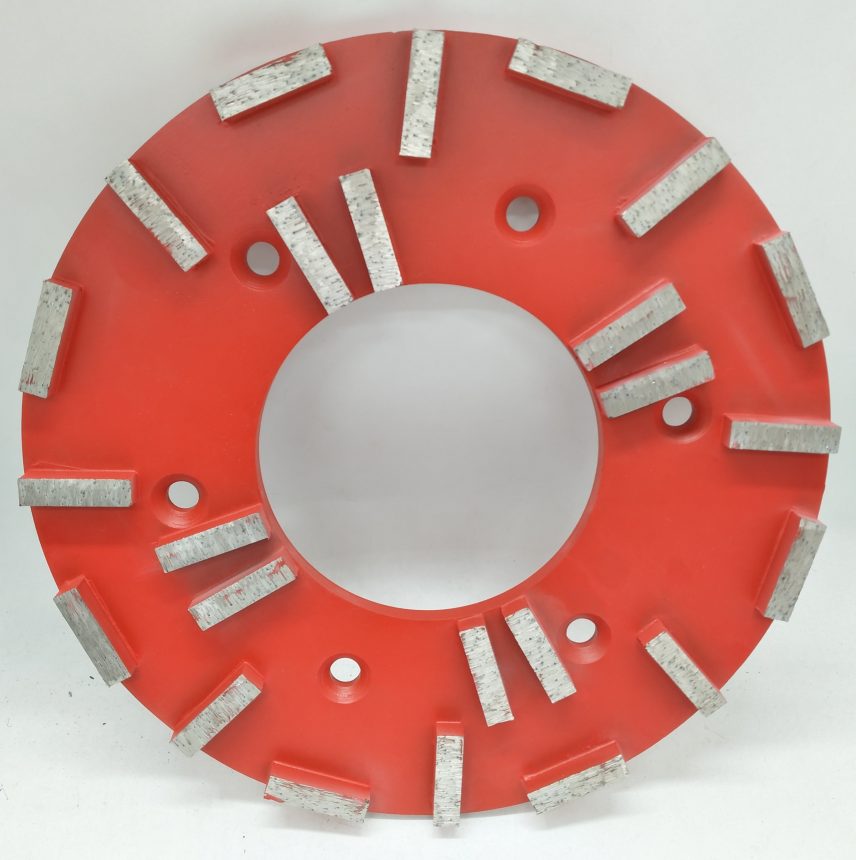
- Composition and Design: These discs are constructed with a metal – based bond that firmly holds high – quality diamond grits. The diamond grits, being the hardest natural material on the Mohs scale (rated 10), are responsible for the cutting and grinding action. The discs come in a variety of grit sizes, typically ranging from coarse grits like #30 – #60 for initial material removal and leveling rough concrete surfaces, to medium grits such as #80 – #150 for intermediate grinding and smoothing, and fine grits like #200 – #400 for achieving a pre – polished surface.
- Function: Diamond grinding discs are used to remove surface imperfections, old coatings (such as paint or epoxy), and to level the concrete floor. They work by abrasively wearing down the concrete surface, gradually creating a more even and smooth base for further polishing steps.
2.2 Polishing Pads
- Materials and Construction: Polishing pads are made from a combination of synthetic materials and often contain diamond particles or other abrasive substances. They are designed to be softer and more flexible compared to grinding discs, which allows for a more refined and smoother finish. The pads also come in different grit levels, with the finest pads having extremely small abrasive particles to produce a high – gloss shine.
- Function: After the initial grinding with diamond discs, polishing pads are used to further smooth the concrete surface, reduce scratches left by the grinding process, and bring out the final shine. They work by gently abrading the surface in a more controlled manner, gradually polishing the concrete to a desired level of gloss.
2.3 Concrete Densifiers
- Chemical Composition: Concrete densifiers are typically made of lithium – based or sodium – based silicate solutions. These chemicals react with the calcium hydroxide in the concrete to form calcium silicate hydrate (CSH) gel.
- Function: When applied to the concrete surface, densifiers penetrate deep into the pores of the concrete. The chemical reaction that occurs helps to fill these pores, making the concrete surface denser and harder. This not only improves the durability of the concrete by increasing its resistance to abrasion, impact, and chemical damage but also enhances the effectiveness of the polishing process by providing a more solid and smooth surface to work on.
2.4 Sealers
- Types and Ingredients: There are different types of sealers available, such as acrylic – based sealers, polyurethane – based sealers, and epoxy – based sealers. Acrylic sealers are water – based and provide a clear, glossy finish with good resistance to water and UV rays. Polyurethane sealers offer excellent durability and abrasion resistance, while epoxy sealers provide a very hard and chemical – resistant coating.
- Function: Sealers are applied as the final step in the concrete polishing process. Their main function is to protect the polished concrete surface from stains, moisture, and general wear and tear. They form a protective barrier on the surface, preventing dirt, oils, and other contaminants from penetrating the concrete, and also enhancing the gloss and sheen of the polished surface, making it easier to clean and maintain.
3. Usage Instructions
3.1 Preparation
- Surface Cleaning: Before starting the polishing process, thoroughly clean the concrete surface. Remove any dirt, dust, debris, oil, or grease. Use a broom, vacuum cleaner, or pressure washer for this purpose. If there are stubborn stains, use a suitable concrete cleaner and follow the manufacturer’s instructions for application and removal.
- Inspection: Inspect the concrete surface for any cracks, holes, or major imperfections. Repair these areas using a concrete patching compound. Make sure the repaired areas are smooth and level with the surrounding surface before proceeding with the polishing.
- Equipment Setup: Select the appropriate floor grinding and polishing machine for the job. Ensure that the machine is in good working condition and is properly calibrated. Attach the correct diamond grinding disc or polishing pad to the machine according to the size and type recommended for the specific task.
3.2 Grinding Process
- Initial Grinding: Start with a coarse – grit diamond grinding disc (e.g., #30 – #60). Set the grinding machine to the appropriate speed and pressure. Move the machine across the concrete surface in a systematic pattern, such as a grid or overlapping passes. Keep the machine moving continuously to avoid creating uneven spots. The goal of this step is to remove any surface irregularities, old coatings, and to expose a fresh concrete surface.
- Intermediate Grinding: After the initial grinding, switch to a medium – grit diamond grinding disc (e.g., #80 – #150). Repeat the grinding process, following the same pattern as before. This step helps to smooth out the surface further and reduce the scratches left by the coarse – grit grinding.
- Fine Grinding: For the final grinding stage, use a fine – grit diamond grinding disc (e.g., #200 – #400). This will create a surface that is ready for polishing. At this point, the concrete surface should be relatively smooth, with only very fine scratches remaining.
3.3 Densifier Application
- Mixing: If the concrete densifier requires mixing, follow the manufacturer’s instructions carefully. Some densifiers are ready – to – use, while others need to be diluted with water.
- Application: Using a sprayer, roller, or brush, apply the densifier evenly over the entire concrete surface. Make sure to cover all areas thoroughly. Allow the densifier to penetrate the concrete surface for the recommended amount of time, usually several hours. During this time, the densifier will react with the concrete to harden and densify it.
- Buffing (Optional): After the densifier has had sufficient time to penetrate, some products may require buffing with a floor buffer or a soft pad. This helps to further spread the densifier and enhance its penetration.
3.4 Polishing Process
- Initial Polishing: Start with a relatively coarse – grit polishing pad (e.g., #500 – #1000). Attach the pad to the polishing machine and set the machine to a lower speed compared to the grinding process. Move the machine across the surface in a similar pattern as during grinding. The goal is to start removing the fine scratches left by the grinding process and to begin to bring out a low – level shine.
- Progressive Polishing: Gradually progress to finer – grit polishing pads (e.g., #1500 – #3000). With each change of pad, the surface will become smoother and shinier. After each pass with a polishing pad, clean the surface to remove any residue.
- Final Polishing: For a high – gloss finish, use the finest – grit polishing pad available (e.g., #5000 or higher). This will give the concrete surface a mirror – like shine. At this stage, the polishing process should be slow and deliberate to achieve the best results.
3.5 Sealer Application
- Surface Preparation: Before applying the sealer, make sure the concrete surface is clean, dry, and free of any dust or debris. If there are any remaining imperfections, address them before proceeding.
- Mixing and Application: If the sealer needs to be mixed, follow the manufacturer’s instructions precisely. Use a sprayer, roller, or brush to apply the sealer evenly over the entire polished concrete surface. Apply at least two coats, allowing each coat to dry completely according to the recommended drying time between coats.
- Curing: After the final coat of sealer is applied, allow the sealer to cure for the recommended period. This can range from several days to a week, depending on the type of sealer and environmental conditions. During the curing period, avoid walking or placing heavy objects on the surface to prevent damage to the newly applied sealer.
4. Safety Precautions
- Personal Protective Equipment (PPE): Always wear appropriate PPE when using these products. This includes safety goggles to protect your eyes from flying debris, dust masks to prevent inhalation of concrete dust and chemical fumes, and work gloves to protect your hands from abrasions and chemicals.
- Ventilation: Ensure that the work area is well – ventilated, especially when using products such as concrete densifiers and sealers that may emit fumes. If possible, work outdoors or use exhaust fans to remove fumes from the indoor environment.
- Chemical Handling: Follow the manufacturer’s instructions carefully when handling chemicals. Keep chemicals in their original containers, and store them in a cool, dry place away from heat sources and direct sunlight. In case of contact with skin or eyes, immediately rinse with plenty of water and seek medical attention if necessary.
- Equipment Safety: Before using any floor grinding or polishing machine, read the operator’s manual thoroughly. Make sure the machine is properly grounded and that all safety guards are in place. Do not operate the machine if it shows any signs of malfunction.
5. Maintenance and Storage
5.1 Maintenance
- Regular Cleaning: Regularly clean the polished concrete surface with a mild detergent and water. Avoid using harsh chemicals or abrasive cleaners that could damage the sealer and the polished surface. A damp mop or a soft – bristled brush can be used for cleaning.
- Stain Removal: If stains occur, address them promptly. For minor stains, a mixture of baking soda and water can be used to gently scrub the area. For more stubborn stains, use a specialized concrete stain remover, following the product instructions carefully.
- Re – Sealing: Over time, the sealer may wear off, especially in high – traffic areas. Monitor the condition of the sealer and re – apply as needed. The frequency of re – sealing will depend on the level of use and the type of sealer applied.
5.2 Storage
- Product Storage: Store all concrete polishing products in their original containers, tightly sealed. Keep them in a cool, dry place, away from direct sunlight and extreme temperatures. Avoid storing products near sources of heat or ignition.
- Equipment Storage: After use, clean the floor grinding and polishing machines thoroughly. Remove any concrete debris, dust, or residue from the machine. Store the machine in a dry, protected area, and cover it to prevent dust accumulation. Check the machine regularly for any signs of wear or damage, and perform maintenance and repairs as needed.
6. Technical Specifications
6.1 Diamond Grinding Discs
- Diameter: Available in various sizes, commonly 10 inches (254 mm), 12 inches (305 mm), etc.
- Grit Sizes: Coarse: #30 – #60; Medium: #80 – #150; Fine: #200 – #400
- Bond Type: Metal bond
- Compatibility: Suitable for most standard floor grinding machines
6.2 Polishing Pads
- Diameter: Matches the size of the grinding machine’s backing plate, typically available in 10 – inch (254 mm) and 12 – inch (305 mm) sizes
- Grit Sizes: Initial: #500 – #1000; Progressive: #1500 – #3000; Final: #5000+
- Material: Synthetic with diamond particles or other abrasives
- Compatibility: Compatible with standard floor polishing machines
6.3 Concrete Densifiers
- Chemical Composition: Lithium – based silicate or sodium – based silicate solutions
- Penetration Depth: Typically penetrates 1 – 3 mm into the concrete surface
- Hardness Increase: Can increase the surface hardness of concrete by 20 – 50% depending on the type and application method
6.4 Sealers
- Type: Acrylic – based, polyurethane – based, epoxy – based
- Gloss Level: Ranges from matte to high – gloss depending on the product
- Drying Time: Initial drying time can range from 1 – 4 hours, and full curing time can be 2 – 7 days
- Chemical Resistance: Varies depending on the type of sealer, with epoxy sealers offering the highest chemical resistance


